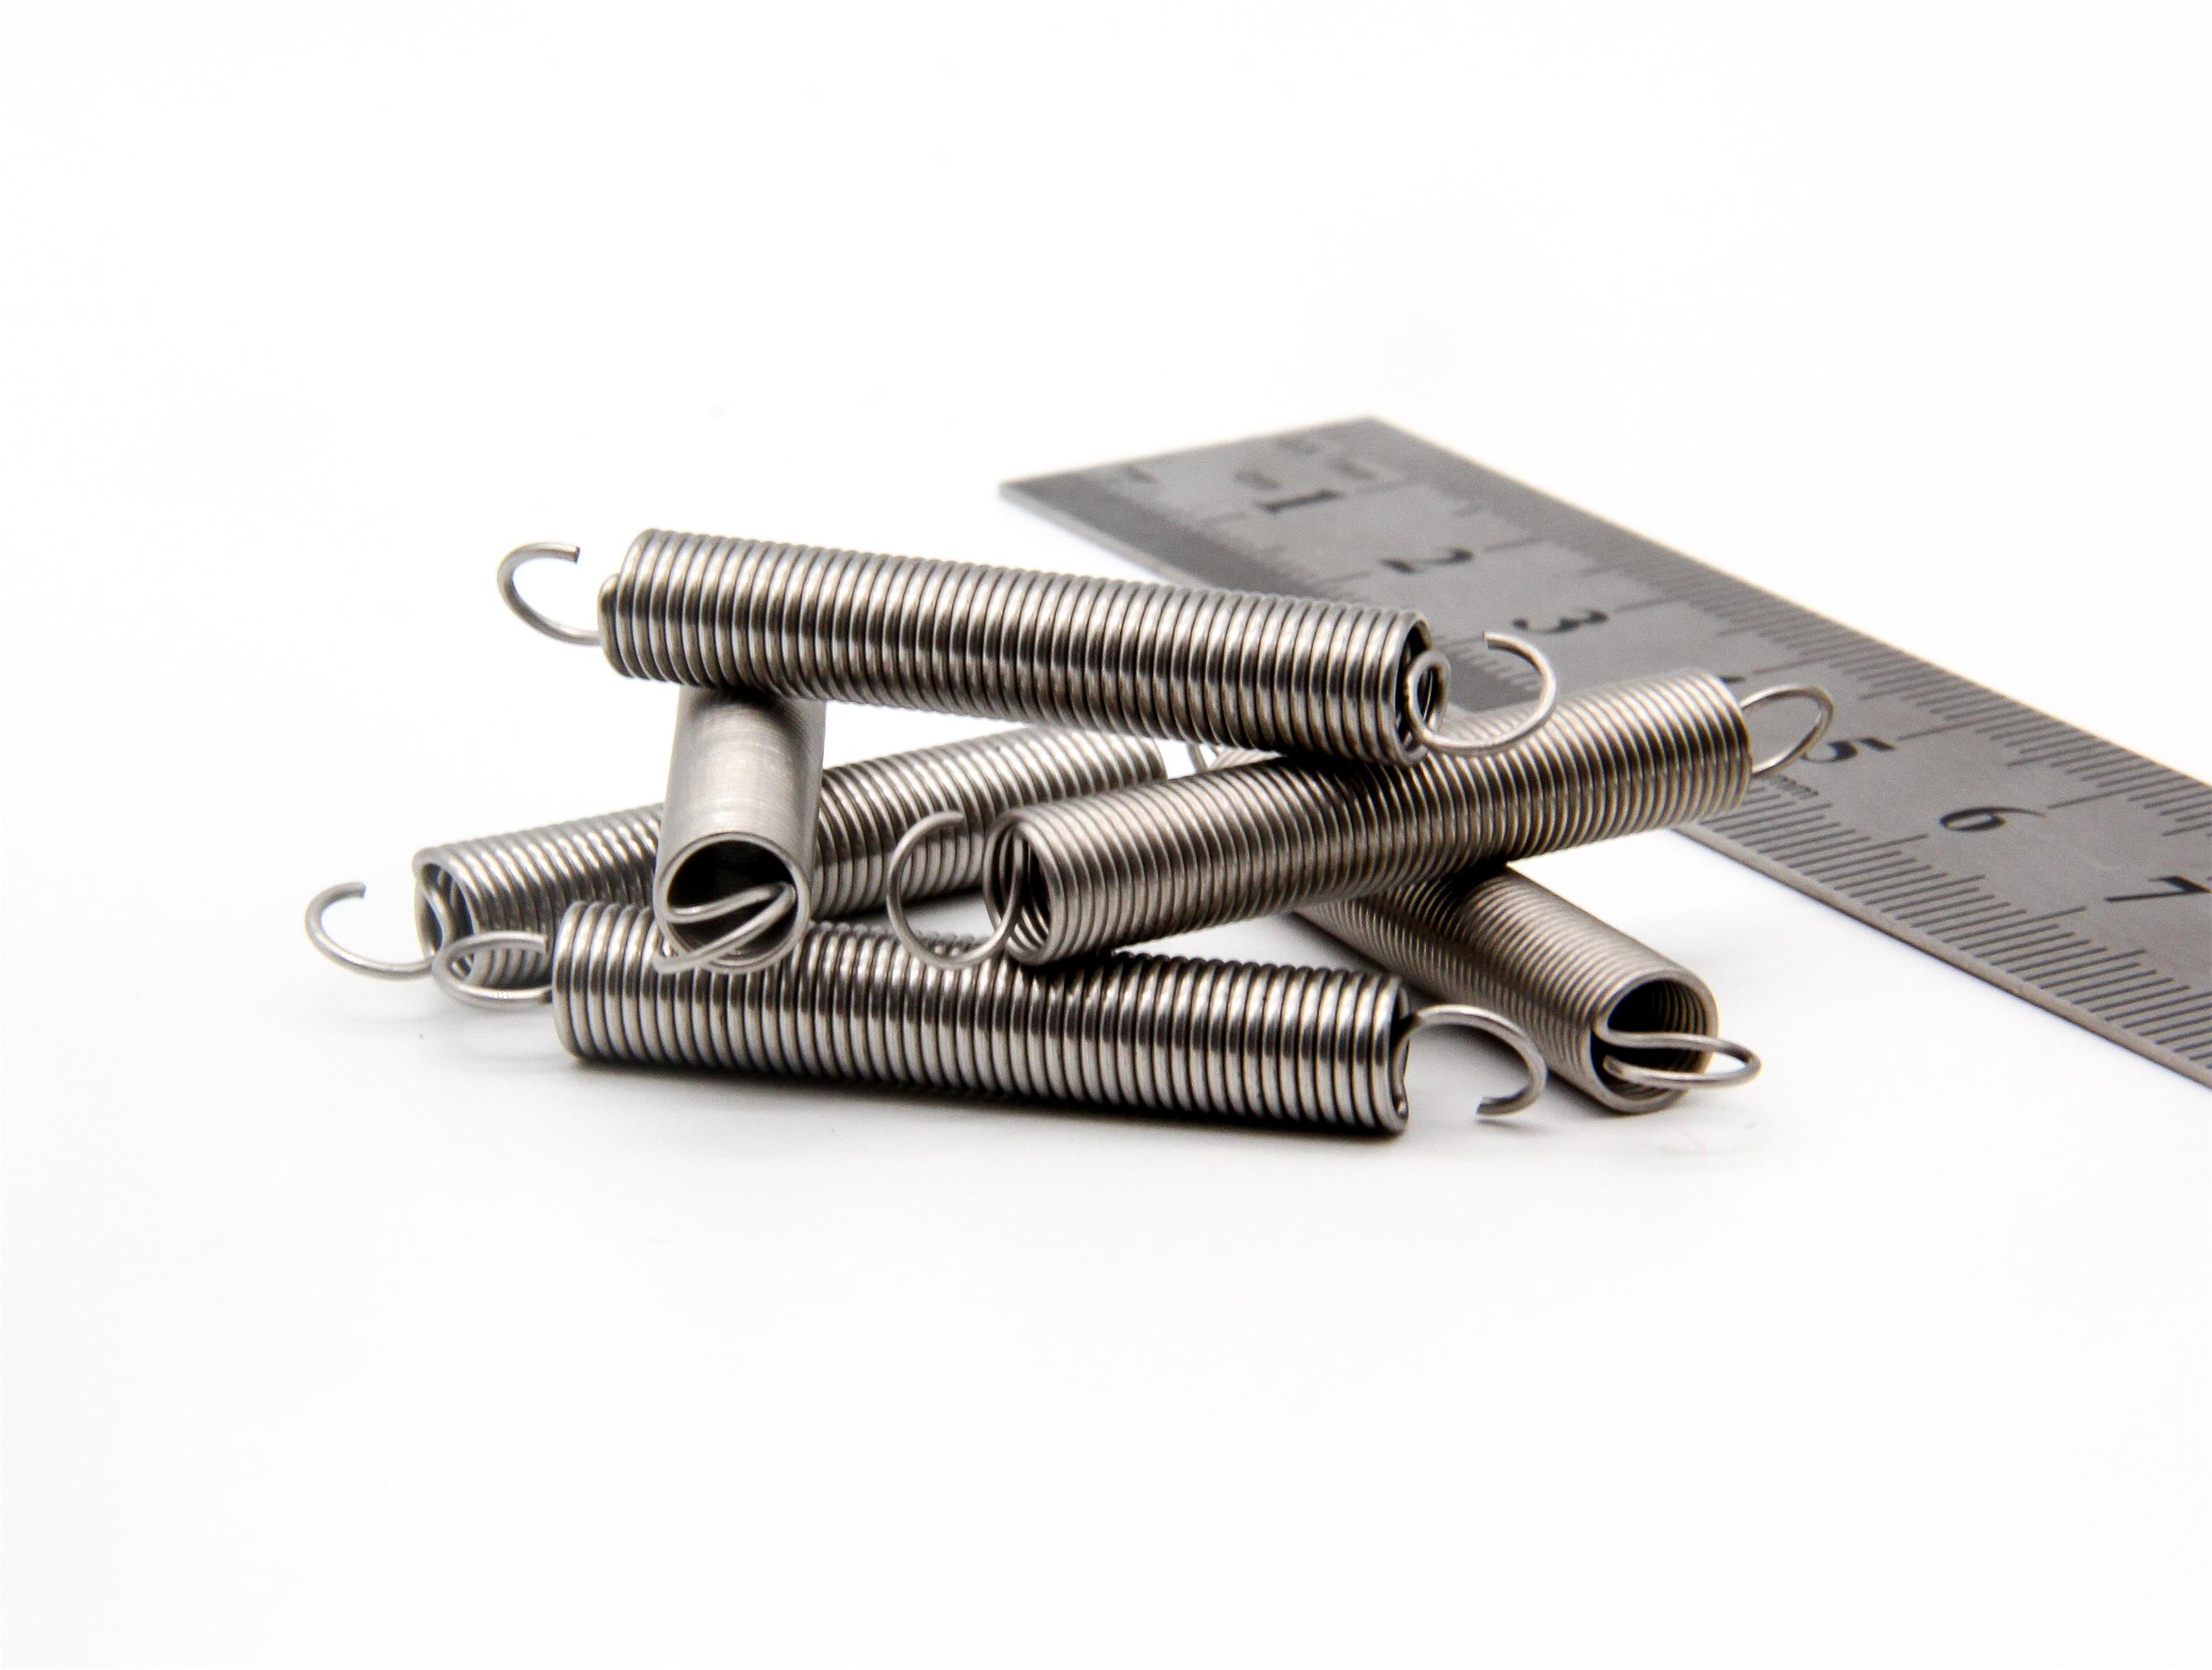
The diameter of wire wound by automatic spring machine is 0.2-3mm, and the adjustment process is as follows:
1. Calibrate the feeding roller and winch to fit the diameter of steel wire and install the pitch wedge and cutting knife.
2. Insert the steel wire into the spring machine and press the pressure plate and feeding roller.
3. Adjust the distance of winding xiao zi, control the diameter of spring, and adjust the pitch wedge and xiao zi Angle to control the spring pitch and parallel head.
4. Install an appropriate cutter, adjust the feeding CAM according to the spring expansion length, cut off the CAM, and adjust the pitch wedge CAM according to the effective number of turns.
5. Aim the cooling liquid nozzle at the work object and install the baffle to prepare for winding.
6. Spring process: 1 and 2 adjust the distance of the winch, control the diameter of the spring, install proper cutting knife, adjust the feeding CAM according to the spring expansion length, cut off the CAM until it is adjusted to the right.
7. Single cutting of the spring that the spring is wound to make a long strip. The number of cutting turns shall be according to the total number of turns in the drawing, plus the number of turns of the two ear hooks.
8. Curved earrings. After the bending of the force spring, the earrings should be de-stressed and annealed.
9, torsion spring winding, winding around or on general lathe spindle hand winding, winding spindle dimension data, can refer to the following empirical formula: spindle diameter = 1-0.0167 x in the spring diameter (D)/wire diameter (D) by the spring inside diameter (DI) note: nodal distance requirement in fire, pay attention to the uniform pitch, only short, not long.
10. During winding, first make 15-20 springs as shown in the figure, and smooth the ends (head), and then shape.For de-stressing annealing treatment, the pressure after treatment shall be subject to the upper limit of 5% as required in the drawing, and the lower limit shall be subject to the lower limit of 3% as required in the drawing. For specific data, please refer to the technical requirements of the parts' process card.